
After getting inside the proxy settings of Windows, you noticed that under the manual proxy setup section, Use a proxy server is turned on with 127.0.0.1 in the address box and 8080 in the Port box.
After seeing that, you turned it off, and again when you revisit the Proxy settings, find out the proxy server is turned on. Well, it happens when your PC is affected by a proxy virus. Having a virus on your PC isn’t a good thing, and proxy viruses are known as one of badass viruses that can steal your credentials and destroy you in seconds.
But there is nothing to worry about as we are here to help you to get rid of the 127.0.0.1 proxy virus. Follow this article and remove this irritating virus in a couple of seconds. So, let’s begin then.

Methods for Removing 127.0.0.1 Proxy Server Virus on Windows 10
There are two methods that you can follow to remove proxy viruses from your PC. The first one is using the Task Manager and the other one is from the Registry Editor. Now, let’s find out the methods that you will need to follow.
Method 1: Remove the Malicious File from Your PC
If there are any malicious files present on your PC then you will need to remove them as soon as possible. With the help of Task Manager, you can locate the file location and delete the file from there. Here are the steps that you will need to follow.
- First, you will need to find out the Program Process ID or PID. To do so, launch Command Prompt as Administrator and type this command, netstat -abno | findstr LISTENING | findstr :8080 and press Enter.
- On the next window, it will provide the PID. Now, right-click on the taskbar and click on Task Manager.
- After navigating to the Task Manager, go to the Details tab and look for the process with the corresponding PID.
- Now, right-click on it and click on Open file location. Delete the file from there.
- Next, go to the Task Manager and end the task from there.
Lastly, you will need to use anti-virus software like AdwCleaner to scan your PC and remove the threats if found.
Method 2: Remove Proxy Virus by Using Registry Editor
After following method 1, if the problem persists then you will need to follow this method to get rid of the proxy virus. Here are the steps that you will need to follow.
Step 1: Change the Value of Proxyenable from 1 to 0
First, you will need to change the value of Proxyenable from the Internet Settings from the Local machine, Current Users, and Users folder in Registry Editor. There you will find 3 different locations that have Internet Settings.
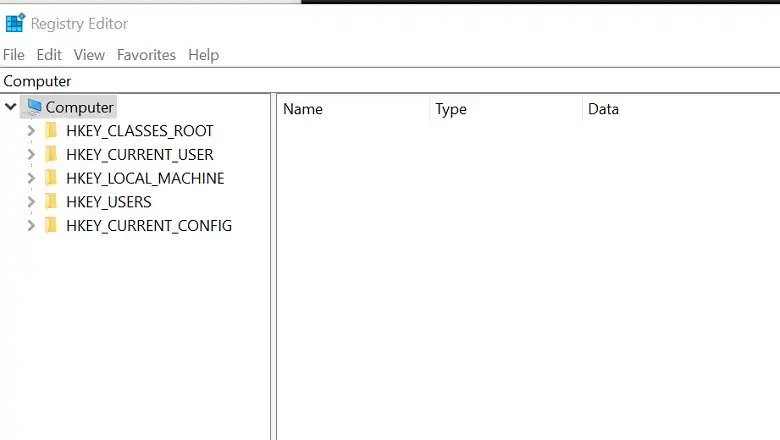
Now, press the Windows key and type Registry Editor. Navigate to Registry Editor. After navigating,
Copy this address, paste it into the address bar, and press Enter.
Computer\HKEY_CURRENT_USER\Software\Microsoft\Windows\CurrentVersion\Internet Settings

Now, from there look for Proxyenable and then right-click on it. After that, click on Modify and change the value from 1 to 0.


Do the same thing for the following addresses, copy them one by one, paste them into the address bar and change the value from 1 to 0.
- Computer\HKEY_LOCAL_MACHINE\SOFTWARE\Microsoft\Windows\CurrentVersion\Internet Settings


- Computer\HKEY_LOCAL_MACHINE\SOFTWARE\WOW6432Node\Microsoft\Windows\CurrentVersion\Internet Settings


- Computer\HKEY_USERS\.DEFAULT\Software\Microsoft\Windows\CurrentVersion\Internet Settings


- Computer\HKEY_USERS\S-1-5-18\Software\Microsoft\Windows\CurrentVersion\Internet Settings


- Computer\HKEY_USERS\S-1-5-21-3996546682-3735944086-698702116-1001\Software\Microsoft\Windows\CurrentVersion\Internet Settings


Step 2: Delete Proxyoverride and Proxyserver from Internet Settings
After changing the value of Proxyenable from the six different folders, now you will need to delete Proxyoverride and Proxyserver from there too. Look for these two inside the Internet Settings folder.


Step 3: Change the Value of Proxysettingsperuser from 0 to 1
After completing step 2, launch Registry Editor again and copy and paste the following sequence into the address bar.
Computer\HKEY_LOCAL_MACHINE\SOFTWARE\Policies\Microsoft\Windows\CurrentVersion\Internet Settings
Now, from there, look for Proxysettingsperuser, now right-click on it, and click on Modify. Change the value to 1 from 0 and save the change.


Step 4: Change the Connectionsettings Value from 1 to 0
Lastly, you will need to change the Connectionsettings value from 1 to 0. To do so, expand HKEY_LOCAL_MACHINE > SOFTWARE > Policies > Microsoft > Internet Explorer > Control Panel.

After that, there you will get Connectionsettings, Right-click on it and click on Modify. Change the value from 1 to 0.
After completing all these steps, download AdwCleaner by Malwarebytes and perform a scan. Delete the malicious files. Now, the proxy virus will be removed.
Frequently Asked Questions and Answers – FAQs
How do I clear my Proxy settings in Windows 10?
To clear proxy settings, press the Windows key and type cmd. Open Command Prompt > Type netsh winhttp reset proxy > Press Enter > Restart Computer.
How do I remove the script address 127.0 0.1 86?
For removing script address 127.0 0.186, you will need to use the register editor. Follow this sequence to do so. Press the windows key and type Register Editor > Right-click on it and then click on Run as administration > paste this into the address bar, HKEY_LOCAL_MACHINE\SOFTWARE\Policies\Microsoft\Windows\CurrentVersion\Internet Settings > right click on ProxySettitngsPerUser > Modify > change the value from 0 to 1.
Conclusion
Lastly, it isn’t that hard to remove the proxy virus from your PC. On an important note, while following method 2, after completing the steps, don’t restart your computer. If you do so then you will need to modify the values again. And still, the proxy virus remains, then you will need to reinstall the OS on your PC.